How to Add Crown Molding to Kitchen Cabinets
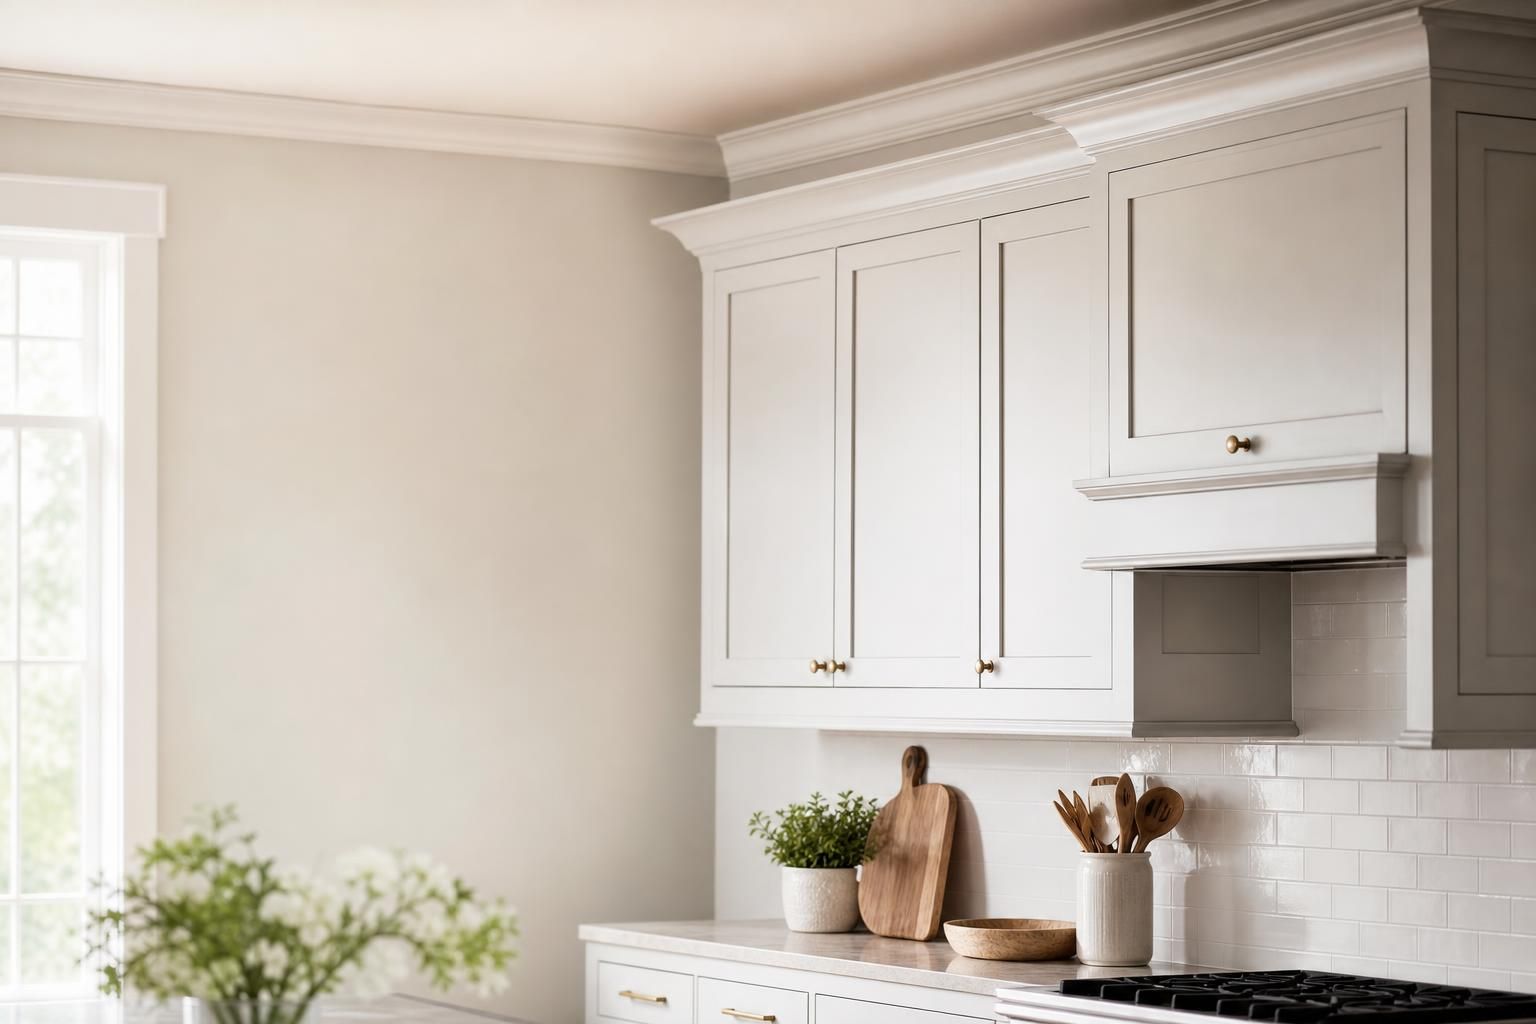
Key takeaway
Crown molding is added to kitchen cabinets by attaching a nailing strip (or build-up block) to the top of the cabinet frame, then fastening the molding to that strip at the same angle it would sit on a wall-to-ceiling joint. The molding is mitered at the corners, scribed to fit an uneven ceiling, then caulked and painted or stained to match the cabinets. Most of the real work is in the fitting and the corners — the nailing itself takes minutes once the pieces are cut right.
Key takeaways
- Crown sits on a nailing strip screwed to the cabinet top, not directly on thin cabinet face frames.
- Inside corners should be coped, not mitered, for a tight joint that won't gap as wood moves.
- In older Oahu homes, ceilings are rarely level — plan to scribe-fit the top edge rather than cut factory-perfect angles.
Tools and Materials You'll Need
- Miter saw (compound miter saw makes crown corners far easier)
- Coping saw or jigsaw for inside corners
- Nail gun (18-gauge brad nailer) or finish nails and hammer
- Wood glue and painter's caulk
- A scrap "build-up block" or 1x3 nailing strip
- Stud finder, if the cabinet run ties into a wall cabinet near a stud
- Sandpaper, wood filler, and matching paint or stain
If you're working with stock cabinets, check the top of the cabinet box before buying molding — some stock boxes have a thin, hollow top frame that won't hold a nail. Choosing the right kitchen cabinets for crown work usually means confirming a solid build-up strip is available or can be added.
Step-by-Step: Installing Crown Molding on Cabinets
- Measure the run. Walk the full cabinet top, including returns at the ends, and note any outside corners versus inside corners.
- Install a nailing strip. Screw a 1x3 or 1x2 strip flush to the back of the cabinet top, set back far enough that the crown's bottom edge will sit on the cabinet face, not hang past it.
- Cut a test block. Before cutting your actual molding, miter a few inches of scrap at the corner angle and hold it in place. This catches saw-angle mistakes before they cost you a full length of molding.
- Cope inside corners. Cut one piece square into the corner, then cut the mating piece at a 45-degree angle and use a coping saw to follow the profile's silhouette. A coped joint stays tight even if the two cabinet runs move slightly out of plane over time — a plain miter there will open into a visible gap.
- Miter outside corners. Standard 45-degree miters work for outside corners, since there's no movement to hide.
- Attach with glue and nails. Run a bead of wood glue along the back and top edge, then brad-nail into the nailing strip and into the cabinet face frame where possible.
- Fill, caulk, finish. Fill nail holes, caulk the top seam against the ceiling, and touch up paint or stain to match the cabinets.
Why Ceilings in Older Oahu Homes Complicate the Fit
Plantation-era and mid-century Oahu homes often have ceilings that were never perfectly level to begin with, and decades of settling only add to the drift. Crown molding that runs tight to the ceiling will show every dip and rise as a wedge-shaped gap, so the top edge almost always needs to be scribed — traced to the actual ceiling line and trimmed — rather than installed with factory angles straight off the saw. This is the same reason flooring installers on Oahu check subfloor level before laying vinyl plank; older structures move, and trim work has to be fitted to the house as it actually sits, not as it was built on paper.
Humidity, Wood Movement, and Material Choice
Hawaii's humidity runs consistently high, and wood moves as it absorbs and releases moisture with the seasons. Solid wood crown molding can expand and contract enough to open small gaps at mitered corners over a year, which is part of why professional trim carpenters favor coped inside joints and flexible caulk at the ceiling line rather than rigid glue alone. The USDA Forest Products Laboratory has documented how wood moisture content shifts with ambient humidity, which is useful background if you're deciding between solid wood, MDF, or a moisture-resistant composite molding for a kitchen that sits near an open lanai or gets steam from daily cooking.
If your cabinets are melamine rather than solid wood, crown attachment changes too — melamine surfaces don't hold brad nails well on their own, so the nailing strip becomes mandatory rather than optional. The trade-offs between melamine and wood cabinets on Oahu are worth understanding before you commit to a molding style, since it affects how the crown gets fastened and how it holds up over time.
Matching Molding to Cabinet Style
Crown profile should scale to the kitchen, not just the cabinet door style. A tall ceiling with upper cabinets stopping well short of it generally calls for a larger, stacked crown (sometimes built from two or three molding profiles) to fill the visual gap; a standard 8- to 9-foot ceiling with cabinets already close to the top usually looks better with a single, smaller profile. Custom cabinet shops can build the crown return and corner blocks as part of the cabinet order, which avoids a lot of on-site coping. If you're working with a shop building custom cabinets, ask whether crown can be pre-fit at the shop rather than scribed in the field — it's often cleaner on a kitchen with multiple outside corners or a soffit.
Should You DIY or Hire a Pro?
A straight run of crown on a single cabinet bank is a reasonable DIY project for someone comfortable with a miter saw. A kitchen with an island, a soffit return, multiple inside corners, or cabinets that run to an uneven ceiling is where professional installation earns its keep — the coping and scribing take real practice, and a bad corner joint is hard to hide once it's painted. The National Kitchen & Bath Association publishes general cabinetry and millwork guidelines that licensed kitchen installers often reference for corner returns and reveal spacing, which is a useful standard to ask about if you're interviewing installers.
Frequently Asked Questions
Q: Do I need a nailing strip for crown molding on cabinets?
Yes, in almost every case. Cabinet tops are usually too thin or hollow to hold a nail securely, so a solid wood strip screwed to the cabinet back gives the molding something solid to fasten into.
Q: Should inside corners be mitered or coped?
Coped. A coped joint follows the molding's profile and stays tight even as the wood shifts slightly with humidity; a mitered inside corner is more likely to open into a visible gap over time.
Q: Can crown molding be added to cabinets after installation?
Yes. Crown molding is typically added as a finishing step after cabinets are set and leveled, since the installer needs the final cabinet height and ceiling gap to measure and scribe accurately.
Q: Does crown molding work on melamine cabinets?
It can, but the molding must attach to a nailing strip rather than the melamine surface itself, since melamine doesn't hold brad nails or screws reliably on its own.
Q: What molding profile fits a standard 8-foot kitchen ceiling?
A single, moderately sized crown profile usually looks proportional on an 8-foot ceiling, especially if upper cabinets already sit close to the ceiling line. Taller ceilings with a gap above the cabinets generally call for a larger or stacked profile to fill the space visually.