How to Paint Kitchen Cabinets: A Step-by-Step Guide
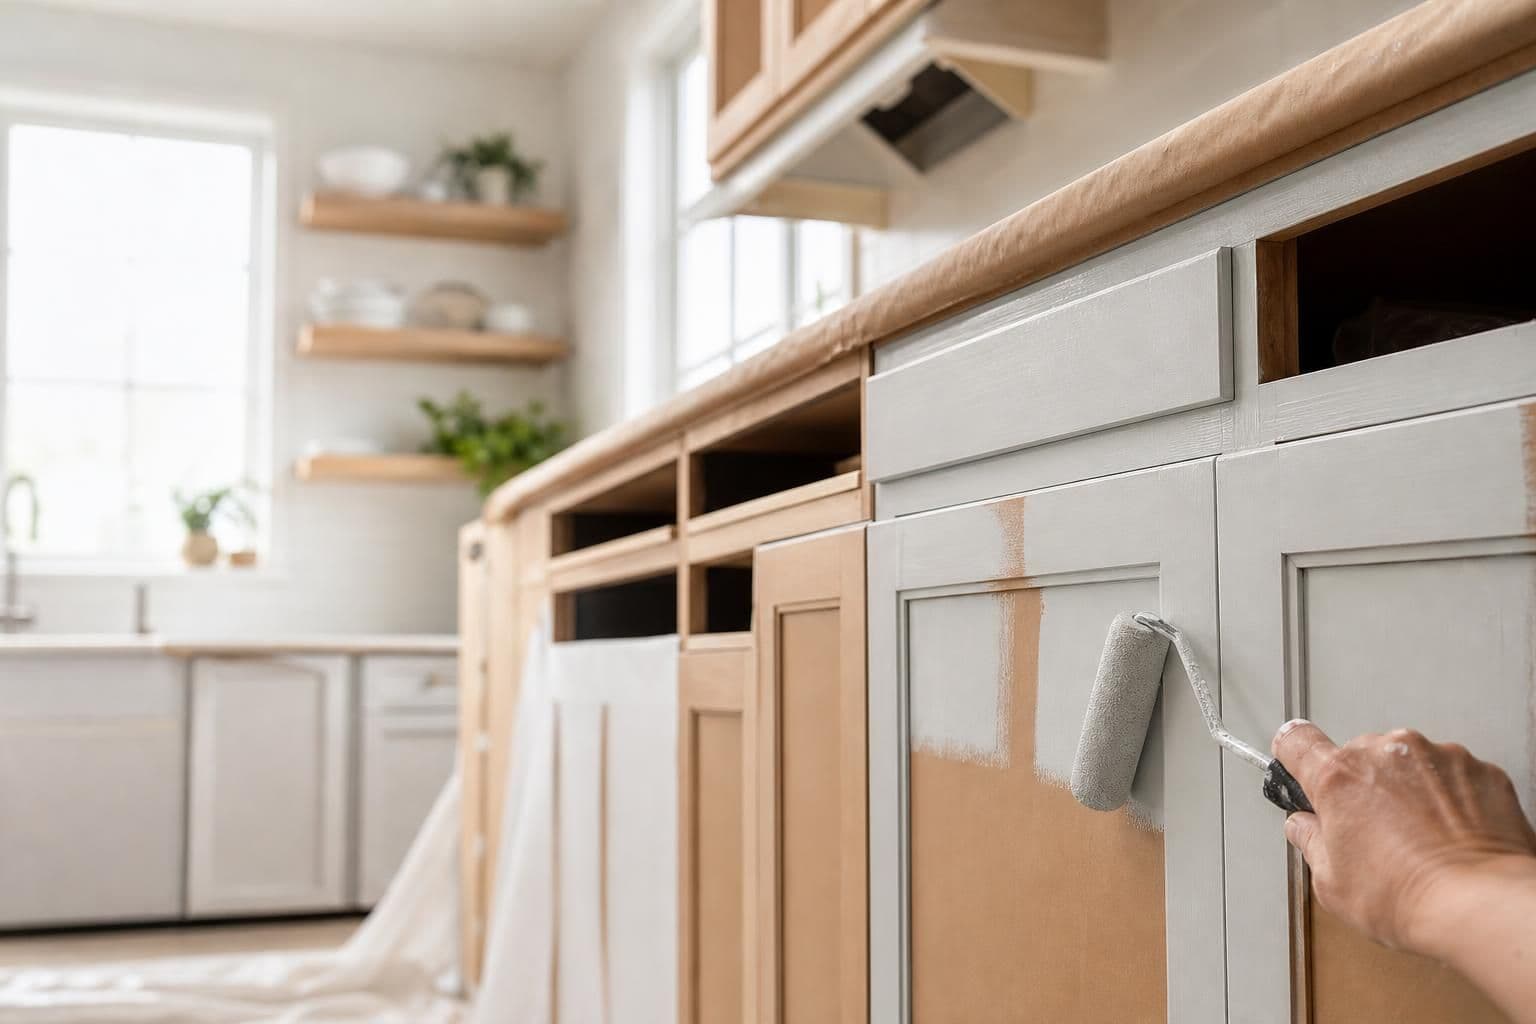
Key takeaway
Painting kitchen cabinets well comes down to three things: removing every trace of grease and gloss before you prime, letting each coat cure on its own schedule instead of your schedule, and using a bonding primer made for cabinetry rather than wall paint. Skip any one of these and the paint will chip at the hinges and handles within a year. On Oahu, humidity and salt air stretch dry times and make surface prep even more important than it is on the mainland.
Key takeaways
- Degrease and scuff-sand every surface before priming — paint failure almost always starts with something paint can't stick to.
- Use a bonding or shellac-based primer on cabinets, not a standard wall primer, especially over existing stain or laminate.
- In Oahu's humidity, add extra dry time between coats and expect full cure to take weeks, not days.
Why Oahu's Climate Changes the Prep Work
Honolulu's average relative humidity runs high year-round, and coastal homes add salt-laden air on top of that. Paint manufacturers base their recoat times on controlled lab conditions, usually around 50% humidity — at Oahu's typical levels, those same coats can stay tacky far longer, which is why rushing from coat to coat is the single most common cause of soft, peeling paint on local cabinets. Older Oahu homes also tend to have cabinet boxes that have absorbed moisture over decades, so wood movement at the joints and panel edges is more noticeable than in a newer build on the mainland. Wiping surfaces down with a degreaser before sanding matters more here too, since kitchen humidity keeps airborne grease slightly tacky even on cabinets that look clean.
Tools and Materials You'll Need
A full cabinet repaint is a project, not a weekend touch-up. Gather these before you start so you're not mid-coat and short a tool:
- TSP or a degreasing cleaner, plus microfiber cloths
- 120-grit and 220-grit sanding sponges (or a liquid deglosser if you want to skip sanding)
- Painter's tape and rosin paper or drop cloths
- Bonding primer rated for cabinets, laminate, or previously painted wood
- A cabinet-grade enamel (waterborne alkyd or hybrid enamel levels out better than standard latex)
- A foam roller and an angled sash brush, or a fine-finish sprayer if you have one
- New hinges, pulls, and soft-close hardware if you're upgrading as you go
Step-by-Step: Painting Kitchen Cabinets
- Empty and label. Remove all doors and drawer fronts, and number each one with painter's tape matched to its cabinet opening — box fronts are rarely perfectly interchangeable.
- Degrease everything. Wipe doors, frames, and boxes with TSP or a degreaser and let them dry fully before sanding.
- Sand or deglos. Scuff every surface with 120-grit, then 220-grit, or use a liquid deglosser on laminate and melamine where sanding isn't practical.
- Prime. Apply a bonding primer in thin, even coats, letting it dry per the label — in Oahu humidity, add extra time before judging it dry to the touch.
- Paint in thin coats. Two to three light coats of cabinet enamel outperform one heavy coat, which tends to sag and show brush marks.
- Cure before loading. Let doors sit flat and untouched for the full cure window the paint manufacturer lists, even though they'll feel dry well before that.
- Rehang and adjust. Reinstall hardware and doors, then adjust hinges so reveals are even — paint buildup can shift fit slightly from the original.
Cabinet Material Matters: Plywood vs MDF vs Laminate
What's under the paint changes how the job goes. Plywood cabinet boxes hold screws and hardware better over time and take sanding well, while MDF doors (common on flat-panel, Shaker-style fronts) sand to a glass-smooth finish but swell at any exposed edge that gets wet. Laminate and thermofoil fronts need a bonding primer or deglosser because standard paint won't grip the factory finish at all. If you're not sure what you're working with, a close look at a cut edge or drawer joint usually tells you — and it's worth knowing before you buy paint, since a project built around plywood vs MDF cabinets is a different prep job depending on which one you have.
How Long Paint Lasts in a Hawaii Kitchen
A properly prepped and cured paint job on cabinets can hold up for several years of daily use, but two things shorten that life on Oahu specifically: grease buildup near the stove, which softens paint film faster in humid air, and UV exposure on cabinets near uncovered windows, which can yellow certain whites over time. Cabinets that see heavy moisture — under the sink, near a dishwasher — are the first to show lifting paint if the primer coat was skipped or rushed. Standard cabinet height and reach also affect wear patterns; if you're planning layout changes alongside a repaint, it helps to know the standard height for kitchen cabinets before you commit to new upper placement.
When Painting Isn't Worth It
Painting makes sense when the boxes and doors are structurally sound and you want a new color without a full remodel. It stops making sense when doors are warped, water-damaged, or made of a material that won't hold paint no matter how well it's prepped — at that point, refacing or replacing the fronts is the more durable choice. If you're already weighing paint against new cabinetry, it's worth getting a side-by-side look at custom cabinet options before deciding, since a full quote accounts for your actual box condition rather than a generic estimate. Homeowners comparing contractors for either path often start with the same questions covered in how to find the best kitchen cabinet company on Oahu.
Maintaining Painted Cabinets After the Job
Freshly painted cabinets need gentler cleaning than factory finishes for the first few months while the paint fully hardens. Avoid abrasive sponges and strong solvents near the stove and sink, and wipe spills promptly rather than letting grease sit. For the long-term cleaning routine once the paint has cured, the steps in how to clean kitchen cabinets the right way apply just as well to painted finishes as to factory ones.
A note on older homes: cabinets installed before 1978 may have lead-based paint underneath later coats, and sanding or scraping that layer releases lead dust. The EPA's lead-based paint guidance outlines safe work practices for renovation in pre-1978 housing, and it's worth checking before any heavy sanding on original cabinetry. Good ventilation also matters for solvent-based primers and paints — OSHA's guidance on workplace ventilation is written for job sites but the airflow principles apply directly to a closed kitchen.
Frequently Asked Questions
Q: Do I need to sand cabinets before painting them?
Yes, in almost all cases. Sanding or deglossing breaks the factory sheen so primer and paint can bond instead of sitting on top and chipping away later.
Q: How many coats of paint do kitchen cabinets need?
Most jobs use one or two coats of bonding primer followed by two to three thin coats of cabinet-grade enamel. Thin coats cure more evenly and show fewer brush marks than one thick coat.
Q: Can I paint laminate or thermofoil cabinets?
Yes, but only with a bonding primer or liquid deglosser designed for slick surfaces — standard primer won't adhere to laminate and will peel within months.
Q: How long does painted cabinet paint take to fully cure in Hawaii?
Cabinet enamel typically needs several weeks to reach full hardness, and Oahu's humidity can extend that window beyond what the can label states. Treat "dry to the touch" and "fully cured" as two different milestones.
Q: Is it cheaper to paint cabinets than replace them?
Painting avoids the cost of new boxes and doors, but it only makes sense if the cabinets are structurally sound. The only way to know which option fits your kitchen is to compare both against your actual cabinet condition and square footage, which is what a free quote request is built to do.