How to Prep a Subfloor for Vinyl Plank Flooring
Key takeaway
Prepping a subfloor for vinyl plank flooring means clearing debris, checking for moisture and flatness, filling low spots with a leveling compound, and sanding or grinding down high spots until the surface is within about 3/16 inch over a 10-foot span. On Oahu, that process also has to account for concrete slabs that hold ground moisture and humid air that can trap vapor under the plank if the subfloor isn't dry enough first. Skipping this step is the single most common reason a vinyl plank floor starts to peak, gap, or sound hollow within the first year.
Key takeaways
- Test subfloor moisture before anything else — concrete slabs on Oahu often need a vapor barrier or moisture-mitigating primer before vinyl plank goes down.
- Flatness matters as much as cleanliness: most manufacturers require no more than 3/16 inch of variance over 10 feet, checked with a straightedge.
- Old tile, glued-down carpet padding, and uneven patch repairs are the three subfloor problems installers run into most often in older Oahu homes.
Why subfloor prep matters more in a humid climate
Vinyl plank is waterproof on top, but the subfloor underneath it is not automatically protected from moisture that migrates upward through a concrete slab or plywood deck. Hawaii's combination of high ambient humidity and, in coastal and older homes, salt-laden air puts extra moisture pressure on ground-floor slabs. If that moisture gets trapped between the slab and the new plank, it can soften adhesive, encourage mold growth under the floor, or cause planks to bow at the seams. The U.S. Environmental Protection Agency notes that trapped moisture is one of the primary conditions that allows mold to grow indoors, which is exactly the environment created when flooring is installed over a subfloor that hasn't been tested and dried first.
For background on why Oahu's climate specifically changes flooring decisions, see the site's guide on flooring in humid, salt-air conditions.
Step-by-step subfloor prep process
- Remove old flooring completely. Pull up carpet, padding, staples, and tack strips, or fully remove old vinyl or tile down to the structural subfloor.
- Clean the surface. Sweep and vacuum, then scrape off any dried adhesive residue that would create a bump under the plank.
- Inspect for damage. Look for soft spots in plywood, cracks in concrete, or squeaks that indicate loose subfloor panels.
- Test for moisture. Use a calcium chloride test or an in-situ relative humidity probe on concrete slabs before committing to an install date.
- Check for flatness. Lay a 10-foot straightedge across the floor in several directions; gaps larger than about 3/16 inch need to be filled.
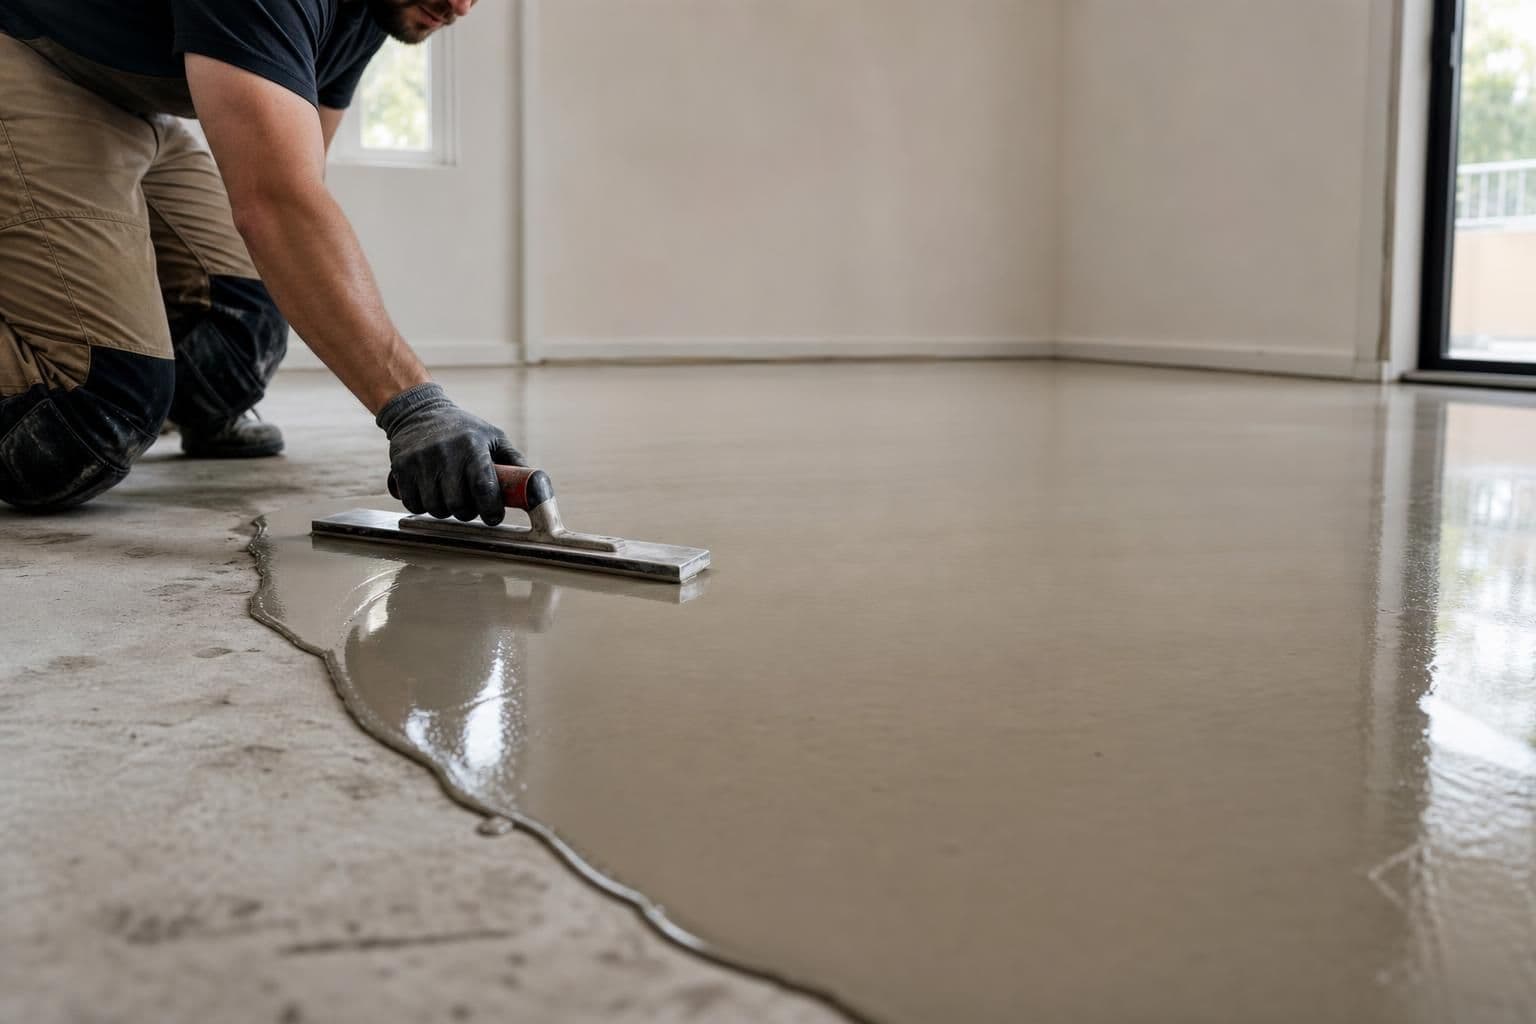
- Fill and level. Apply a cementitious self-leveling compound to low spots and grind down high spots.
- Let it cure fully. Leveling compound and moisture mitigation products need their full cure time before plank installation — rushing this step is a common cause of later problems.
Concrete slab vs. plywood subfloor prep
Most single-family homes on Oahu built on a slab foundation, and many condo units, have concrete subfloors, while some older or elevated homes have plywood. The prep steps differ:
- Concrete slabs need moisture testing first, since ground moisture can wick up through the slab even years after the home was built. A moisture-mitigating primer or sealer is often required before adhesive-based vinyl plank installation.
- Plywood subfloors need a check for delamination, soft or spongy areas, and proper fastening — squeaky boards usually mean a fastener has backed out and needs to be reset or replaced.
- Both surfaces need to be free of paint, wax, or old adhesive residue, since these can prevent leveling compound or adhesive from bonding properly.
Moisture testing methods and what the numbers mean
Two common tests are used on concrete: a calcium chloride test, which measures how much moisture is emitted from the slab over 60-72 hours, and an in-situ relative humidity probe drilled into the slab, which reads moisture levels deeper in the concrete. The ASTM International F710 standard covers the accepted practice for preparing concrete floors to receive resilient flooring, including these test methods and the moisture thresholds manufacturers typically require before installation. If a slab tests above the accepted threshold, the fix is usually a moisture-mitigation coating rather than tearing anything out — it adds a step, but it's a far smaller job than replacing a floor that failed within a year.
Common subfloor problems found in older Oahu homes
Contractors working across Honolulu, Kailua, Kapolei, Mililani, and the North Shore run into a similar set of issues in homes built before modern moisture standards:
- Old ceramic tile with uneven grout lines that need to be ground flat or skim-coated.
- Glue residue from a previous vinyl or linoleum installation that has hardened over decades.
- Slabs with visible efflorescence (a white, powdery mineral deposit) — a visual sign of ongoing moisture movement through concrete.
- Patch repairs from plumbing work that were never leveled flush with the surrounding slab.
Each of these adds labor time to a project, which is why the condition of your specific subfloor matters more than a generic estimate based on square footage alone.
Condo subfloors and AOAO paperwork
Condo buildings on Oahu often have their own subfloor rules tied to sound transmission requirements between units, and many AOAO boards require documentation showing an underlayment with a specific Impact Insulation Class rating before approving a flooring change. Getting this paperwork wrong is one of the most common reasons condo flooring approvals get delayed. For the full approval process, see the site's guide on condo flooring rules and AOAO approval.
What Affects Subfloor Prep Costs on Oahu
The amount of correction a subfloor needs is the single biggest driver of cost — a slab that's already flat and dry takes far less work to prep than one with old tile, extensive patch repairs, or high moisture readings. Self-leveling compound work scales with how much of the floor needs correction: a few isolated low spots take much less material and labor to fix than a slab that needs a full skim coat across every room. Moisture-mitigation primer or sealer adds another variable, since a slab with borderline moisture readings needs far less of it than one flagged with active moisture movement or visible efflorescence.
Other factors that shift the job up or down in scope include tear-out and disposal of old flooring (tile removal takes longer and generates more debris than pulling up carpet), whether furniture needs to be moved out of the work area first, and how many stairs or tight hallways the crew has to work around in older Oahu homes. Condo projects add their own variables: elevator scheduling, loading-dock access, and AOAO-required underlayment specs can all add time that a single-family home job wouldn't have. Special-order materials that have to be freighted to the island can also affect how a project is scheduled.
Because every one of these variables is specific to your subfloor, the only accurate number comes from a free quote based on actual measurements and an on-site look at the subfloor's condition. If you're still comparing flooring types before you get to the subfloor stage, the guide on vinyl plank flooring cost on Oahu breaks down material and installation factors separately.
Frequently Asked Questions
Q: Do I need to remove old vinyl flooring before installing vinyl plank?
In most cases yes, especially if the old flooring is cushioned, uneven, or already showing signs of moisture damage. A thin, fully bonded, flat layer of old vinyl can sometimes stay, but it still needs to pass the same flatness and moisture checks as bare subfloor.
Q: How flat does a subfloor need to be for vinyl plank flooring?
Most manufacturers require no more than about 3/16 inch of variation over a 10-foot span, checked with a straightedge in multiple directions. Anything beyond that needs to be corrected with a self-leveling compound or grinding before installation.
Q: Can vinyl plank be installed directly over concrete?
Yes, but the concrete slab should be tested for moisture first, since vinyl plank is waterproof on top but the adhesive and underlayment beneath it are not immune to trapped moisture from below. A moisture-mitigating primer is often used when test results are borderline.
Q: What happens if I install vinyl plank over a subfloor that's too damp?
Trapped moisture can soften adhesive, cause planks to peak or separate at the seams, and create conditions for mold growth underneath the floor. It's a common cause of early flooring failure, which is why moisture testing is a standard step before installation, not an optional one.
Q: How long does subfloor prep take before flooring installation can start?
A straightforward clean-and-level job can be ready in a day, but moisture testing (60-72 hours for a calcium chloride test) and leveling compound cure times can add several days to a project timeline. Older homes with tile removal or extensive patching typically need more time.