How to Remove Vinyl Plank Flooring (Step-by-Step)
Key takeaway
Removing vinyl plank flooring means separating click-lock planks by hand, starting from an expansion gap along a wall, or scraping and dissolving adhesive if the planks are glued down. The method depends entirely on how the floor was installed, and older Hawaii homes sometimes hide surprises underneath — like uneven concrete or a prior glued-down layer — that change the job.
Key takeaways
- Click-lock (floating) vinyl plank pulls up by hand in most cases; glued-down plank requires a scraper and adhesive remover.
- Vinyl flooring installed before 1980 may contain asbestos in the backing — don't sand or dry-scrape it without testing first.
- Condo and high-rise removal in Honolulu often has building rules on noise hours, dust containment, and freight elevator bookings that matter as much as the tools you use.
What You'll Need Before You Start
Gather tools before you pull the first plank, so you're not stopping mid-job:
- Pry bar or flat trim puller
- Utility knife with fresh blades
- Floor scraper (long-handled for standing work, hand scraper for edges)
- Heat gun or hair dryer (softens old adhesive)
- Shop vacuum
- Knee pads, safety glasses, and an N95 or better dust mask
- Heavy-duty contractor bags or a scrap bin
The Occupational Safety and Health Administration recommends respiratory protection any time a task generates fine dust, which applies here whether you're grinding adhesive residue or breaking up old tile underneath.
Removing Click-Lock (Floating) Vinyl Plank
Floating vinyl plank isn't fastened to the subfloor, so it comes up in reverse order of how it went down.
- Remove baseboards or shoe molding along one wall to expose the expansion gap.
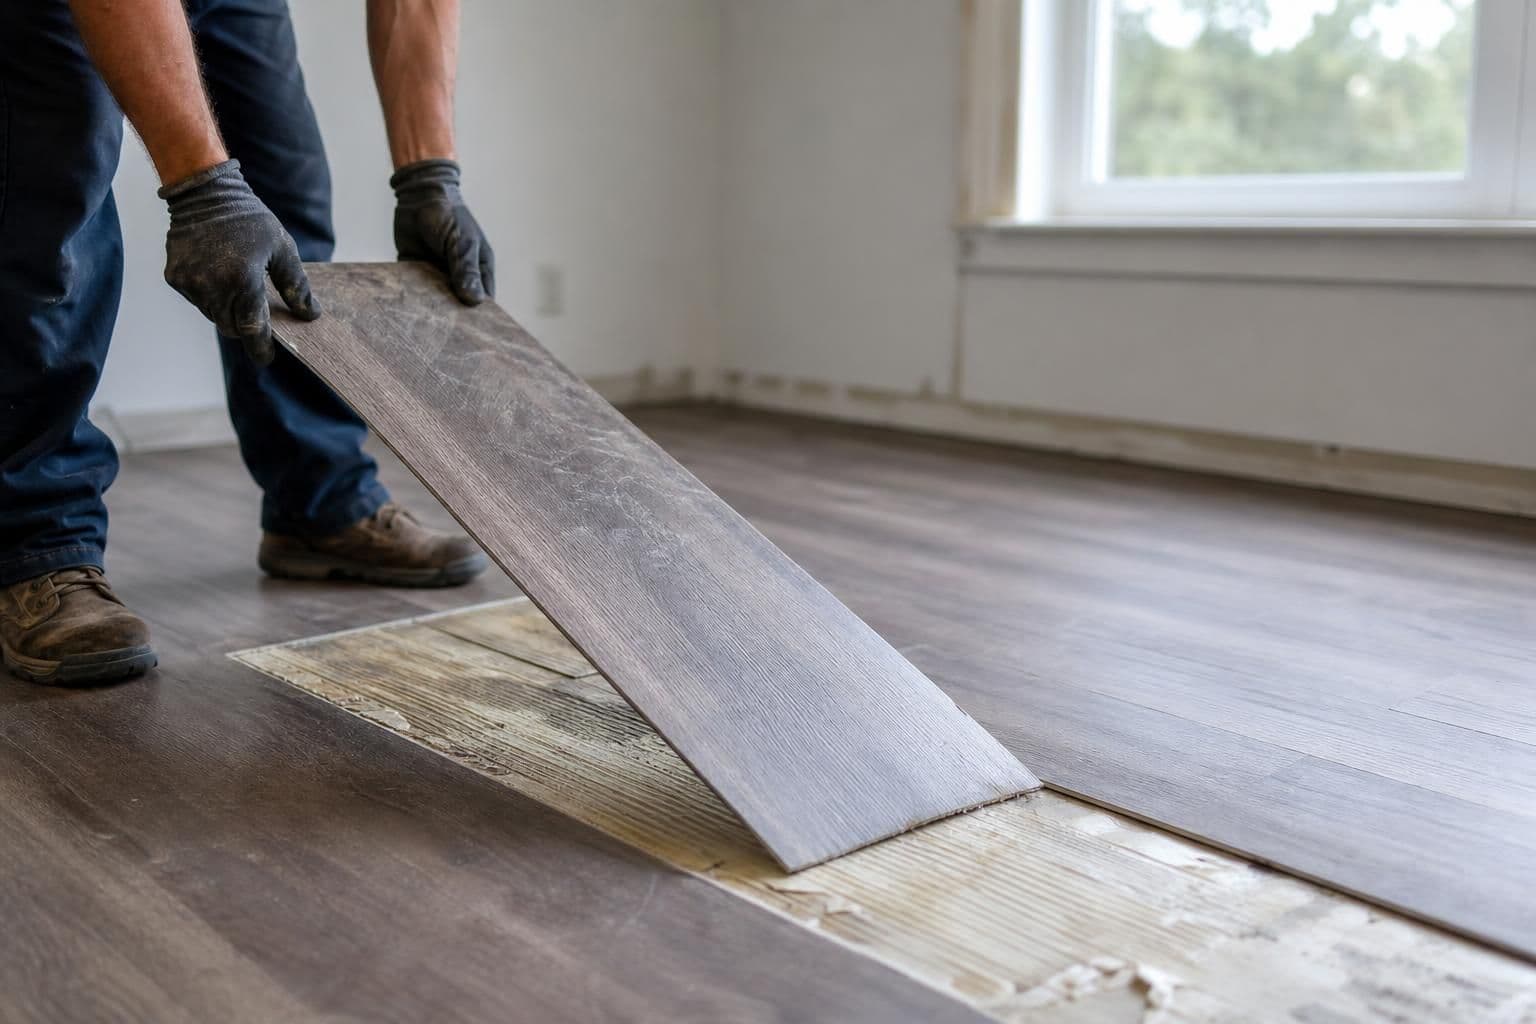
- Lift the first plank at that gap at a slight angle — it should release from its neighbor without much force.
- Work across the row, then start the next row, continuing in reverse installation order.
- Set aside planks in good condition; some can be reused in a closet, garage, or as underlayment test pieces.
This process usually goes fast — a single room can come up in under an hour once you find the release angle, since nothing beneath the wear layer is glued or nailed.
Removing Glued-Down Vinyl Plank
Fully-adhered vinyl plank is more common in commercial spaces and older Oahu units, and it takes more effort.
- Score a starting corner with a utility knife and pry up a small section with a scraper.
- Use a heat gun on low to soften the adhesive as you work the scraper flat against the subfloor, keeping the blade angle shallow to avoid gouging concrete or plywood.
- Once the plank is up, scrape remaining adhesive, then apply an adhesive remover or a mix of warm water and mild solvent to loosen what's left.
- Vacuum residue and let the subfloor dry fully before any new material goes down.
Glued-down removal is the step where most DIY jobs slow down, because leftover adhesive ridges will telegraph through new vinyl plank if they aren't leveled first.
What's Underneath Matters: Checking for Asbestos in Older Vinyl
If your home's flooring was installed before 1980, don't assume it's safe to dry-scrape or sand. The Environmental Protection Agency notes that vinyl floor tile, sheet vinyl backing, and some adhesives manufactured before that period may contain asbestos, which is only a health risk when fibers become airborne. If you're unsure of your flooring's age or you find black "cutback" adhesive under old sheet vinyl, have a sample tested before tearing anything out yourself.
Subfloor Condition After Tear-Out on Oahu Homes
Once the vinyl is gone, what you find underneath decides your next move. Many older Oahu homes have uneven slab concrete, old glue ridges, or plywood that's cupped slightly from years of humidity. None of that is unusual for the islands, but it does mean a self-leveling compound or a moisture barrier is often needed before new flooring goes down — skipping that step is one of the most common reasons a new vinyl plank floor shows imperfections within months. If you're weighing whether to replace with the same material or switch products entirely, this rundown of vinyl plank flooring pros and cons for Oahu homes covers how the climate affects that choice.
Condo and High-Rise Removal Rules
Tear-out in a Honolulu condo isn't just a DIY question — it's a building-rules question. Most AOAOs restrict noisy work (scraping, hammering) to certain daytime hours, require dust containment plastic sealing off hallways, and may require freight elevator reservations for hauling out old material and debris. Some boards also want documentation of what's being removed and what's going back in before they'll approve the work at all. If you haven't checked whether your project needs sign-off, permit requirements for replacing flooring in Hawaii is worth a read before you start prying up planks.
Disposal and Cleanup
Vinyl plank and its adhesive residue go in regular construction debris, not recycling, in almost every case. A few practical notes:
- Bag scraped adhesive and small plank pieces separately from larger sections to keep bags from tearing.
- Full plank rooms produce more waste volume than most people expect — a modest living room can fill several contractor bags.
- If the old flooring tests positive for asbestos, it needs to go out as regulated waste, not household trash — your test results will tell you the disposal path.
When to Call a Professional Instead
DIY removal makes sense for a small floating-plank room with no complications. It makes a lot less sense when you're dealing with glued-down plank over large square footage, a pre-1980 building with unknown adhesive, stairs, heavy furniture that needs moving and storing, or a condo with elevator-booking and AOAO paperwork on top of the physical work. In those cases, a licensed installer handles tear-out, disposal, and subfloor prep as one sequence instead of three separate headaches. For a general read on vetting who does that work, see how to hire a flooring installer on Oahu.
There's no single number that applies to every tear-out — a slab condo unit, a wood-frame house with stairs, and a rental with multiple rooms all come out differently once you add up disposal, leveling, and access issues. The only accurate number comes from measuring your actual space and conditions, which is what a free quote against your real square footage is built to do, with an answer back within 24 hours.
Frequently Asked Questions
Q: Can I remove vinyl plank flooring myself?
Yes, for click-lock (floating) plank in good condition, most homeowners can remove it by hand with basic tools. Glued-down plank, large square footage, or suspected pre-1980 asbestos-containing material are better left to a professional.
Q: How do I know if my vinyl plank flooring has asbestos?
Flooring installed before 1980 is the main risk category, especially sheet vinyl with black "cutback" adhesive underneath. The only reliable way to know is lab testing a small sample rather than guessing from appearance.
Q: Does removing vinyl plank flooring damage the subfloor?
It can, particularly with glued-down plank where scraping leaves adhesive ridges or shallow gouges in plywood or concrete. That's why most removal jobs include a leveling step before new flooring is installed.
Q: How long does it take to remove vinyl plank flooring from a room?
A single room of floating click-lock plank often comes up in under an hour once you find the release angle at the wall gap. Glued-down plank takes considerably longer because of scraping and adhesive removal.
Q: Do I need AOAO approval to remove flooring in a Honolulu condo?
Many boards require notice or approval before tear-out, especially for noise hours, dust containment, and freight elevator scheduling. Check your building's rules before starting, since requirements vary by association.